This detailed tutorial below is designed to help you get started using HD Converter to accomplish conversion from HD to SD, from SD to HD, or between almost all popular video formats even high definition video for playback on your portable multimedia players. This software not only performs as a conversion tool but also as powerful editor. How to perform these functions is included in the following 2 parts.
What you need?
Software: HD Converter
OS Supported: Windows 8, Windows 7, Windows XP (SP2 or later), Windows Vista
Hardware Requirements: 800MHz Intel or AMD CPU, or above; 512MB RAM or more
Step 1Add files before HD to SD conversion
First, it is necessary to download, install and run the software.

After launching the HD Video Converter, click button "Add File" on the toolbar, a dialog pops up for choosing video files to the program. Almost all kinds of videos are supported including high definition videos.
If you want to delete some video files which have been added, just select the video and click button Remove.
Step 2 Choose profile, destination and settings
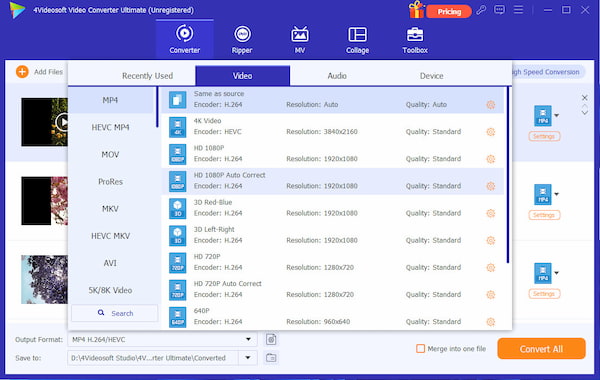
HD Converter can convert to HD videos to various formats and play on different devices. Under "Profile", click the drop down arrow and choose what you want format from the list. Click "Browse" and find a folder to place your converted files. You can choose audio track and subtitle

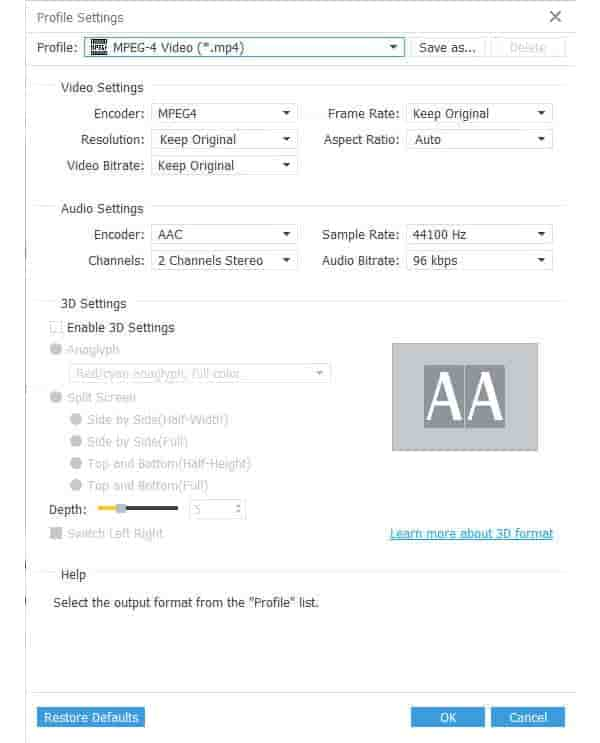
Go to Settings panel and do some settings for video conversion. You may also do some other settings like video Encoder, frame rate, audio Channels and more parameters before you convert HD video.

Step 3 Convert HD video to SD
Click "Convert" button on the toolbar to start HD to SD or HD to HD conversion process.
HD Converter also provides you to trim video, crop play area, capture the picture.